Version: Oracle Identity Manager 11.1.2.3.0
Description: Demonstrates how to give an OIM user system administrator privileges.
1. Log into the
Identity Self Service page as xelsysadm.
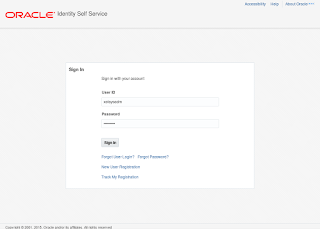 |
| Identity Self Service Login Page |
2. Navigate to the
Manage section and then select
Organizations.
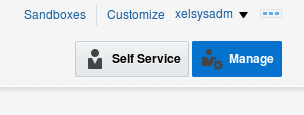 |
| Navigate to Manage |
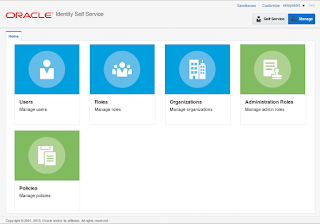 |
| Navigate to Organizations |
3. Select the
Top organization.
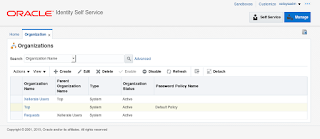 |
| Organizations: Top |
4. Navigate to the
Admin Roles section. Highlight the
System Administrator role and then click
Assign.
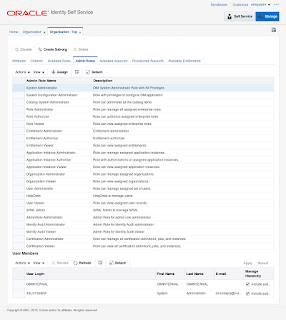 |
| Admin Roles |
5. On the pop-up box, search for your user and then add the selected user.
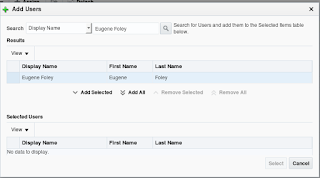 |
| Search user |
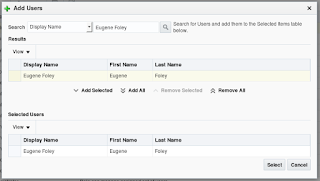 |
| Add selected user |
6. The user should be added to the
User Members box. Check mark
include sub-orgs under
Manager Hierarchy column. Then click
Apply.


No comments:
Post a Comment